
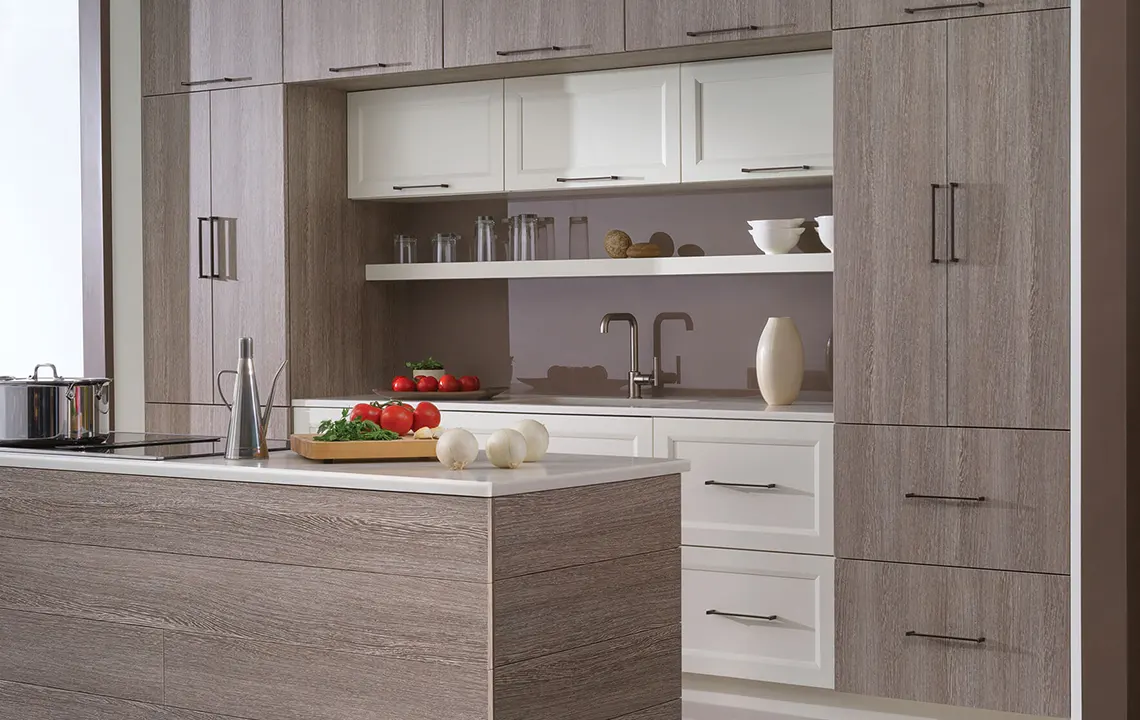
Are you considering giving your kitchen a fresh look without the expense of a full renovation? Painting your laminate cabinets is an excellent, budget-friendly way to transform your kitchen, modernize its appearance, and even increase your home’s value.
Many homeowners shy away from this project, thinking that laminate is difficult to paint. However, with the right approach and guidance, you can achieve professional-quality results. This guide walks you through a detailed, step-by-step process to help you successfully paint your kitchen cabinets. From preparing the surfaces to applying the final coat, we’ll cover everything you need to know to create a stunning kitchen makeover.
Ready to roll up your sleeves and take on this DIY challenge? Let’s get started!
Essential Tools & Materials for Cabinet Painting
Before beginning your project, make sure you have all the necessary tools and materials ready. Being well-prepared will ensure a smooth and efficient process.
Cleaning Supplies:
- Sugar soap
- Bucket
- Sponge
- Microfiber cloths
- Rubber gloves
Sanding Tools:
- 120-grit sandpaper
- 220-grit sandpaper
- Sanding block
- Tack cloth
Painting Supplies:
- Laminate primer
- High-quality angled paintbrushes (for edges)
- Small roller (for cabinet doors)
- Roller tray and liner
- Paint thinner (as needed for your paint)
- Laminate paint (in your chosen color and finish)
- Painter’s tape
- Drop cloths
Optional but Recommended:
- Paint sprayer (for a quicker, smoother application)
- Respirator mask (especially when using a sprayer or working in enclosed spaces)
With these supplies on hand, you’re all set to tackle your cabinet painting project. Investing in high-quality products will help ensure the best possible outcome.
Step-by-Step Guide to Painting Your Laminate Cabinets
With your materials ready, it’s time to start the process. Proper preparation is key to achieving a beautiful, long-lasting finish.
Prepare Your Workspace:
- Clear off countertops and move any items around your cabinets.
- Cover the floor with drop cloths to protect against paint splatters.
- Open windows and doors to ensure proper ventilation.
Remove Cabinet Doors and Hardware:
- Use a screwdriver to detach cabinet doors and drawer fronts.
- Label each piece to make reassembly easier later.
- Take off all hardware, including hinges, handles, and knobs.
Thoroughly Clean the Surfaces:
- Wash all surfaces with a sugar soap solution to remove grease and grime.
- Rinse with clean water and dry completely with a microfiber cloth.
Sand the Cabinets:
- Lightly sand the surfaces with 120-grit sandpaper to create a rough texture that helps paint adhere.
- Focus on scuffing up the laminate surface without removing the finish entirely.
Clean Up the Dust:
- Use a tack cloth to wipe away any sanding dust.
- Make sure the surfaces are completely clean before proceeding.
Prime the Cabinets:
- Apply a thin, even coat of primer designed for laminate surfaces.
- Use a brush for edges and corners, and a roller for flat surfaces.
- Allow the primer to dry according to the manufacturer’s instructions.
Smooth the Primed Surface:
- Lightly sand the primed surface with 220-grit sandpaper for a smooth finish.
- Wipe away any dust with a tack cloth.
Apply the First Coat of Paint:
- Stir your paint thoroughly and apply it using a brush for detailed areas and a roller for larger surfaces.
- Maintain a wet edge to avoid brush or roller marks.
Let the Paint Dry:
- Allow the first coat to dry completely, following the manufacturer’s recommended drying time.
Sand Between Coats (If Necessary):
- Lightly sand the surface again with 220-grit sandpaper to smooth out any imperfections.
- Clean away the dust with a tack cloth.
Apply Additional Coats:
- Apply a second or third coat as needed, ensuring each coat is fully dry before adding the next.
- Typically, two to three coats will provide a durable and opaque finish.
Seal the Surface:
- Once the final coat is dry, apply a protective sealant to enhance durability.
- Choose a sealant that matches your desired finish (matte, satin, or gloss) and apply evenly.
Reinstall the Hardware and Doors:
- After the sealant has dried completely, reattach the cabinet doors, drawer fronts, and hardware.
- Refer to your labels to ensure everything is correctly reinstalled.
Admire Your New Kitchen
Congratulations! You’ve successfully transformed your kitchen cabinets. Take a moment to admire the fresh, updated look you’ve created.
Maintaining Your Painted Cabinets
After all your hard work, keeping your cabinets looking their best is essential. Regularly clean them with a soft cloth and gentle cleaner to remove dirt and spills. Avoid abrasive materials and harsh chemicals that could damage the finish.
To prevent chips or peeling, protect your cabinets from excessive moisture and impact. If you notice any minor damage, touch up the paint as needed using a fine brush or a touch-up kit.
Can You Skip Sanding When Painting Laminate Cabinets?
While it might be tempting to skip sanding, it’s not recommended. Laminate surfaces are smooth, and without sanding, the paint may not adhere properly, leading to peeling and a less durable finish. For the best results, invest the time in light sanding to create a surface that the paint can grip, ensuring a long-lasting and professional-looking result.

